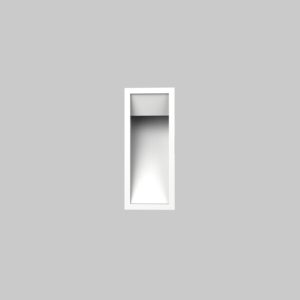
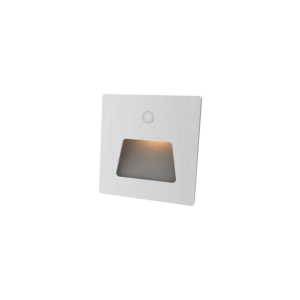
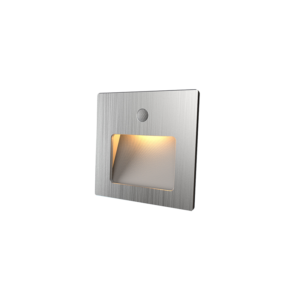
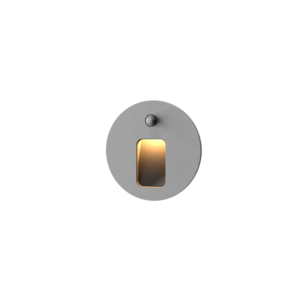
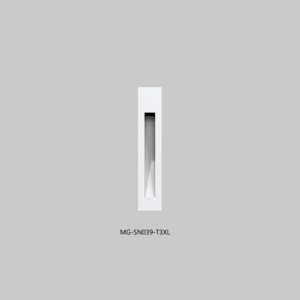
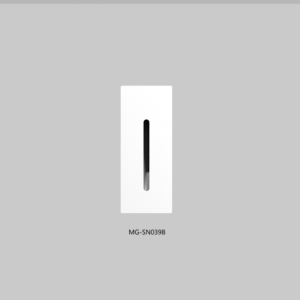
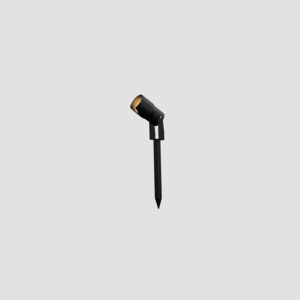
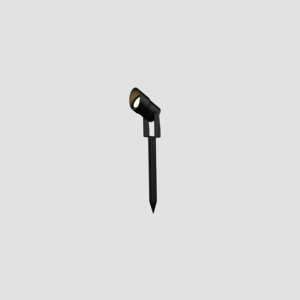
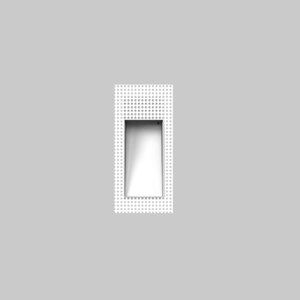
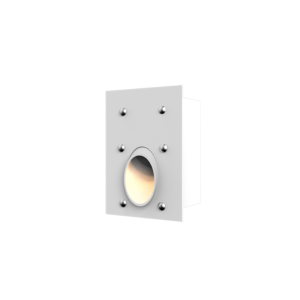
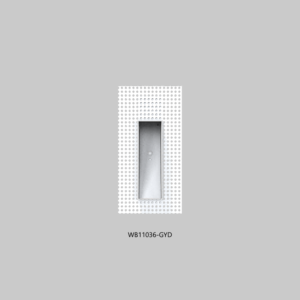
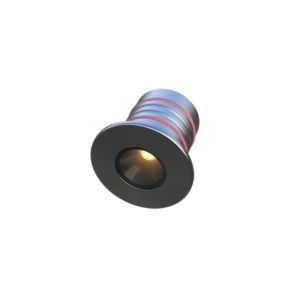
Material-Specific Cleaning Solutions
To ensure the long-term good condition and prolong the lifespan of LED Step Lights, it’s crucial to use different cleaning methods based on the material of the lampshade or lens.
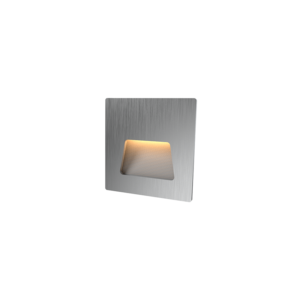
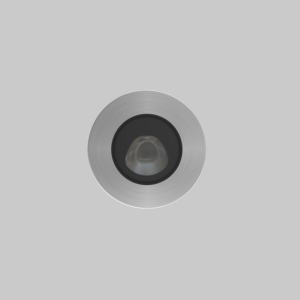
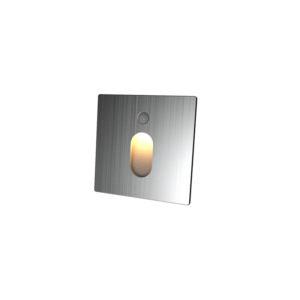
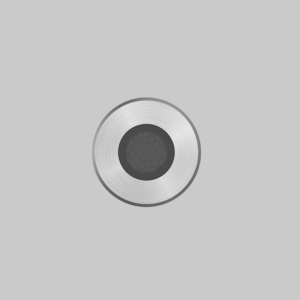
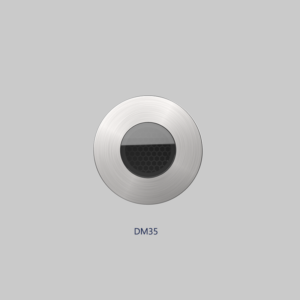
Cleaning Metal Lampshades
Tools and Materials:
- Microfiber cloth: Soft and lint-free, suitable for cleaning metal surfaces without scratching.
- Dedicated metal polish: Choose a neutral or weakly alkaline product, avoiding cleaners with acidic ingredients.

Cleaning Steps:
- Turn off the power: Ensure the LED Step Light is disconnected from the power source to avoid electric shock.
- Dust removal: Use a dry microfiber cloth to gently wipe off dust and debris from the metal surface.
- Apply polish: Evenly apply the dedicated metal polish onto the microfiber cloth, avoiding direct spraying on the LED Step Light surface.
- Polish the surface: Wipe the metal surface in gentle circular motions until it restores its shine. For stubborn stains, increase the wiping intensity slightly, but avoid scratching the surface.
- Clean residue: Use a clean microfiber cloth to wipe off any excess polish, ensuring no residue remains.
Precautions:
- Avoid using acidic cleaners such as vinegar or lemon juice, which may corrode the metal surface.
- If any scratches or damage are found on the metal surface during cleaning, contact a professional maintenance personnel promptly.
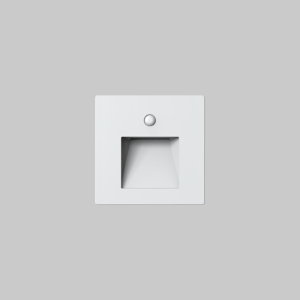
Cleaning Plastic/Acrylic Lampshades
Tools and Materials:
- Slightly damp cloth: Keep it moderately moist, avoiding dripping water.
- Neutral cleaner: Such as dishwashing liquid or soapy water, avoiding alcohol, acetone, or other organic solvents.
Cleaning Steps:
- Turn off the power: Ensure the LED Step Light is safe and avoid the risk of electric shock.
- Moisten the cloth: Dip the slightly damp cloth into the neutral cleaner solution and wring it out until it is not dripping.
- Wipe the surface: Gently wipe the plastic/acrylic surface in straight lines or circular motions to remove dust and stains.
- Clean residue: Use a clean, slightly damp cloth to wipe off any excess cleaner, ensuring no residue remains.
- Dry the surface: Use a dry, soft cloth to wipe the surface, accelerating water evaporation and avoiding water stains.

Precautions:
- Avoid using alcohol, acetone, or other organic solvents, which may damage the plastic/acrylic surface.
- If any cracks or discoloration are found on the surface during cleaning, replace the part or contact professional maintenance personnel promptly.
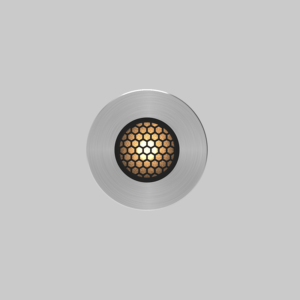
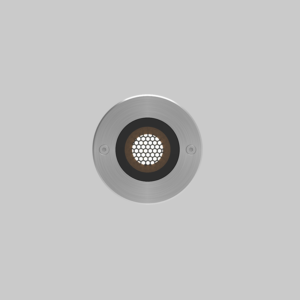
Cleaning Glass Lenses

Tools and Materials:
- Optical cleaning kit: Includes an anti-static brush, lens paper, and other dedicated tools.
- Lens cleaning fluid: Choose a neutral, alcohol-free dedicated cleaning fluid.
Cleaning Steps:
- Turn off the power: Ensure the LED Step Light is disconnected from the power source to avoid electric shock.
- Dust removal: Use the anti-static brush to gently brush off dust and debris from the glass lens surface.
- Apply cleaning fluid: Evenly apply the lens cleaning fluid onto the lens paper, avoiding direct spraying on the glass surface.
- Wipe the lens: Gently wipe the glass lens surface in circular motions until all stains and fingerprints are removed.
- Dry the lens: Use dry lens paper or a soft cloth to wipe the glass surface, accelerating water evaporation and avoiding water stains.
Precautions:
- Avoid using regular paper towels or rough cloths to wipe the glass lens, as they may leave scratches or fibers.
- If any scratches or damage are found on the glass surface during cleaning, contact professional maintenance personnel promptly or replace the part.
Detailed Cleaning and Maintenance Procedures for LED Step Lights
Precision Cleaning Process
To maintain the pristine condition of LED Step Lights and ensure optimal lighting performance, a meticulous cleaning process is essential. This process involves daily surface dusting and specialized treatment for stubborn stains.

Surface Dusting
Frequency: Daily
Tools: Electrostatic duster
Procedure:
- Gently brush the surface of the LED Step Light using the electrostatic duster to remove loose dust and debris.
- Pay special attention to crevices and hard-to-reach areas where dust tends to accumulate.
- This daily dusting routine helps prevent the buildup of dust, which can not only obscure the light but also potentially scratch the surface over time.
Stubborn Stain Treatment
Tools: Steam cleaner (temperature controlled below 40℃), microfiber cloth

Procedure:
- For persistent stains that cannot be removed by regular dusting, use a steam cleaner set to a temperature below 40℃ to avoid damaging the LED Step Light‘s surface.
- Hold the steam cleaner at a safe distance from the LED Step Light and apply steam evenly to the stained area.
- After steaming, use a microfiber cloth to gently wipe away the loosened stains.
- Ensure the LED Step Light is completely dry before turning it on to prevent any potential electrical hazards.
Waterproof Grade Inspection

Before performing any wet cleaning on LED Step Lights, it is crucial to check their waterproof grade to avoid damage.
- IP65 Rated and Above:LED Step Lights with an IP65 rating or higher are designed to withstand direct water jets from any direction. These can be safely cleaned with a damp cloth.
- Standard Models: For LED Step Lights without an IP65 rating, it is recommended to use a protective cover before cleaning to prevent water from entering the internal components. Alternatively, use a dry cleaning method to avoid any risk of water damage.
Condition Inspection Checklist
Regular inspections are vital to identify potential issues early and prevent more serious problems from arising. A comprehensive inspection checklist should include the following:
Weekly Inspections
- Fixed Screw Torque: Check the torque of all fixed screws using a torque wrench. The torque should be within the range of 0.8-1.2N·m to ensure secure fastening without over-tightening.
- Connection Wire Insulation: Inspect the insulation layer of all connection wires for any signs of cracking or damage. Replace any damaged wires immediately to prevent electrical hazards.
Monthly Inspections
- Light Source Color Temperature Shift: Use a spectrophotometer to measure the color temperature shift (Δu’v’) of the light source. Ensure that the shift is within the acceptable range of ≤0.005 to maintain consistent lighting quality.
Quarterly Inspections
- Grounding Resistance Value: Measure the grounding resistance value using a grounding resistance tester. The value should be ≤0.5Ω to ensure proper grounding and prevent electrical shocks.
- Driver Power Supply Ripple Factor: Check the ripple factor of the driver power supply using a ripple factor tester. The ripple factor should be <5% to ensure stable and efficient operation of the LED Step Light.
Professional-Grade Troubleshooting and Repair Guide

Common Fault Diagnosis Tree
To efficiently diagnose and resolve issues with LED Step Lights, a systematic approach based on fault phenomena is essential. The following diagnosis tree outlines the steps to troubleshoot common problems:
No Light Emission
- Check Power Supply:
- Use a multimeter to measure the output voltage of the power supply.
- If Normal: Proceed to replace the light source module.
- If Abnormal: Repair or replace the power supply.
Flickering Light
- Determine Flicker Pattern:
- Regular Flicker: Inspect the driver circuit for potential issues.
- Irregular Flicker: Investigate poor electrical connections.
In-Depth Maintenance Procedures
Beyond basic troubleshooting, periodic in-depth maintenance is crucial to ensure the long-term performance and reliability of LED Step Lights.
Optical System Inspection
- Luminance Measurement: Use a lux meter to measure the light output and assess any lumen depreciation. An annual depreciation of less than 10% is considered normal.
- Thermal Imaging Analysis:
- Abnormal Hotspot Detection: Employ an infrared thermal imager to scan for unusually hot areas. A temperature difference (ΔT) greater than 10℃ warrants further investigation.
Electrical Performance Testing
- Drive Waveform Analysis: Utilize an oscilloscope to examine the drive waveform and ensure the Total Harmonic Distortion (THD) is below 20%.
Critical Component Replacement Guidelines
When replacing key components of LED Step Lights, adherence to specific guidelines ensures optimal performance and safety.
LED Module Replacement
- Parameter Matching: Ensure the new LED module matches the original’s color temperature and Color Rendering Index (CRI).
- Soldering Temperature Control: Maintain a soldering temperature of 260℃ ±10℃ to avoid damaging the LED module.
Power Adapter Replacement
- Certification Compliance: Select a replacement power adapter that carries the same certifications (e.g., CCC, CE) as the original to ensure compliance with safety standards.
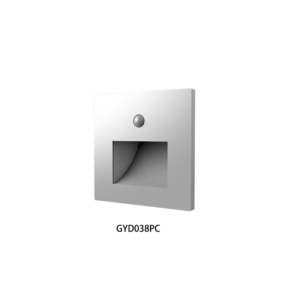
Sensor Component Replacement
- Sensitivity Calibration: After replacing sensor components, calibrate their sensitivity to ensure the human body detection distance error is within ±10cm.
Thermal System Optimization and Maintenance Guide for LED Step Lights
Passive Cooling Enhancement Solutions for LED Step Lights
To improve the passive cooling performance of your LED Step Lights, consider implementing the following upgrades:

Heatsink Upgrade for LED Step Lights
- Copper-Aluminum Composite Fins: Upgrade to heatsinks featuring copper-aluminum composite fins, which offer a lower thermal resistance of less than 0.2℃/W, enhancing heat dissipation efficiency for your LED Step Lights.
Thermal Interface Material for LED Step Lights
- Nanocarbon Thermal Pad: Replace conventional thermal interface materials with a nanocarbon thermal pad. This advanced material, with a thickness of 0.5mm and a thermal conductivity greater than 5W/m·K, ensures superior heat transfer between components and the heatsink, crucial for maintaining optimal performance of LED Step Lights.
Active Cooling System Maintenance for LED Step Lights
Regular maintenance of active cooling systems is crucial to sustain their effectiveness, especially for LED Step Lights. Follow these guidelines:
Fan Bearing Lubrication for LED Step Lights
- High-Temperature Grease: Lubricate fan bearings every 500 hours of operation using high-temperature grease to reduce friction and wear, ensuring smooth fan operation and prolonged lifespan for your LED Step Lights.

Heat Dissipation Vent Cleaning for LED Step Lights
- Compressed Air Purge: Clean heat dissipation vents periodically using compressed air with a pressure below 0.2MPa to remove dust and debris that may obstruct airflow, maintaining optimal cooling performance and ensuring efficient operation of LED Step Lights.
Intelligent Temperature Control Strategy for LED Step Lights
Implementing an intelligent temperature control strategy helps prevent overheating and ensures stable operation of LED Step Lights under varying environmental conditions.
Temperature Threshold Setting for LED Step Lights
- Forced Convection Activation: Configure the system to activate forced convection cooling when the main control chip temperature exceeds 65℃, enhancing heat dissipation to prevent thermal damage and ensure the longevity of LED Step Lights.
Automatic Power Reduction for LED Step Lights
- Output Adjustment: Implement an automatic power reduction mechanism that lowers the output by 10% when the ambient temperature exceeds 40℃, reducing heat generation and preventing potential overheating issues, thereby safeguarding the performance and lifespan of LED Step Lights.
Safety Operation Procedures and Emergency Response Guide for LED Step Lights
Safety Operation Procedures for LED Step Lights
Power-Off Operation Protocol
Prior to any maintenance or repair of LED Step Lights, confirm that the power has been completely disconnected using a digital voltage tester to ensure operational safety.
High-Altitude Work Safety Measures
When LED Step Lights are installed in high positions, operators must wear insulated gloves and non-slip safety harnesses to ensure safety during high-altitude work.
Tool Management Requirements
Use insulated screwdrivers with a withstand voltage of 1000V or higher for the disassembly and installation of LED Step Lights to prevent electric shock accidents.
Emergency Response Plan for LED Step Lights
Leakage Handling Measures
LED Step Lights should be equipped with RCBO protectors with a setting current not exceeding 30mA to quickly cut off the power supply in case of leakage.
Short Circuit Protection Plan
Install self-resetting fuses with a rated current 1.5 times that of the LED Step Lights‘ operating current to effectively prevent equipment damage caused by short circuits.
Fire Emergency Response
Equip ABC dry powder fire extinguishers near LED Step Lights to ensure effective fire suppression within a distance of 1.5-2 meters in case of a fire.
Professional Maintenance Schedule for LED Step Lights
| Maintenance Item | Cycle | Tools/Materials |
|---|---|---|
| LED Step Light Surface Cleaning | Daily | Microfiber Cloth |
| Fastener Inspection | Weekly | Torque Wrench |
| Electrical Performance Testing | Quarterly | Digital Multimeter/Oscilloscope |
| Cooling System Maintenance | Biannual | Compressed Air/Thermal Grease |
| Light Source Replacement | 2-3 Years | LED Module Kit |
LED Step Light Maintenance Recommendations
Adhering to the above maintenance schedule for regular upkeep can significantly extend the service life of LED Step Lights by over 40% and reduce the failure rate by 35%.
For complex faults or uncertain operations, it is recommended to contact the original manufacturer’s after-sales service or a professional with an electrician’s license to ensure the safe operation of LED Step Lights.
By strictly following the safety operation procedures and emergency response plan for LED Step Lights, combined with regular professional maintenance, the safe operation of LED Step Lights can be effectively ensured, their service life prolonged, and the likelihood of faults reduced.