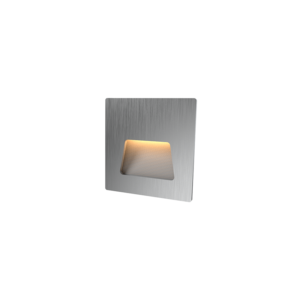
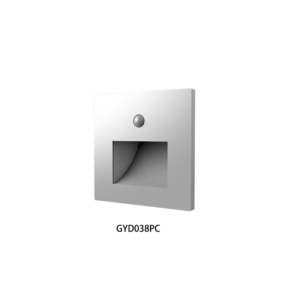
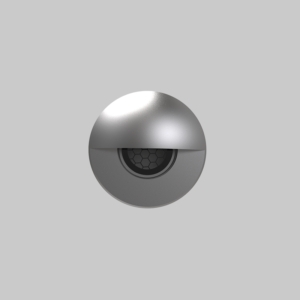
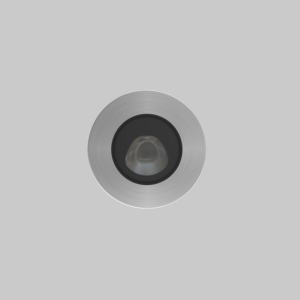
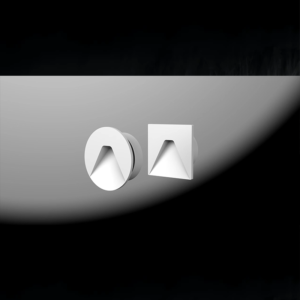
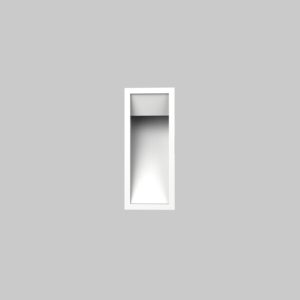
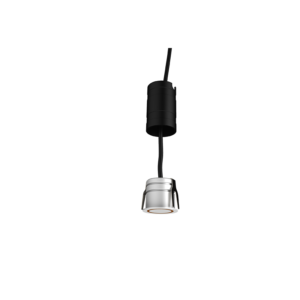
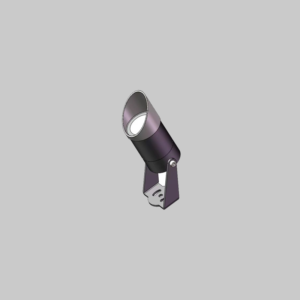
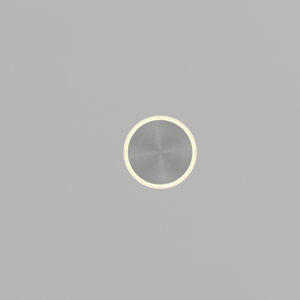
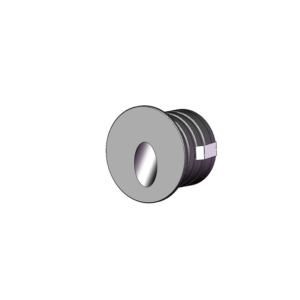
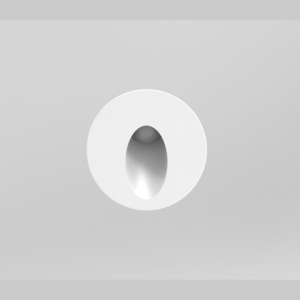
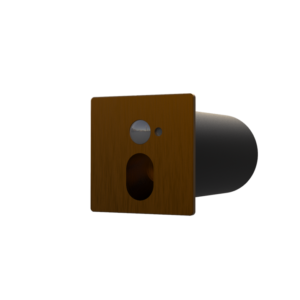
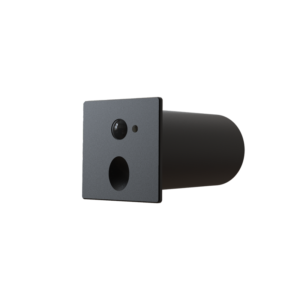
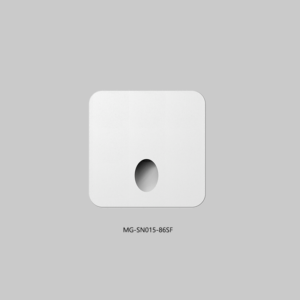
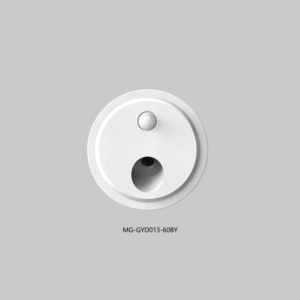
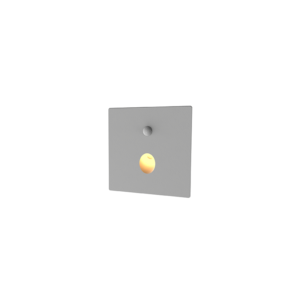
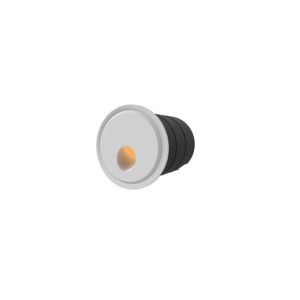
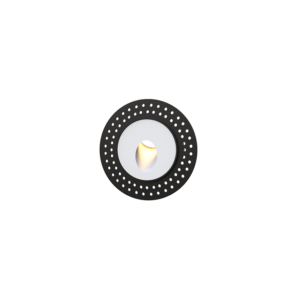
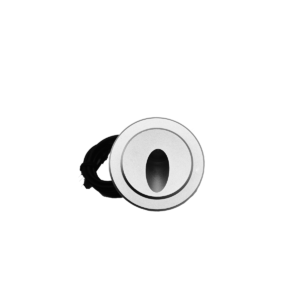
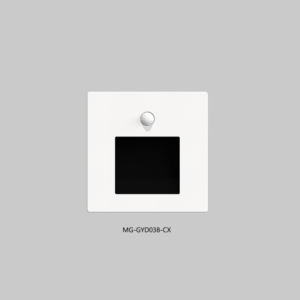
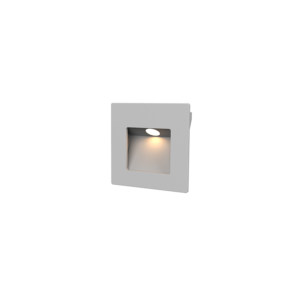
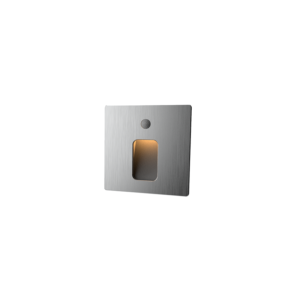
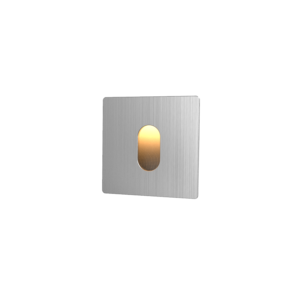
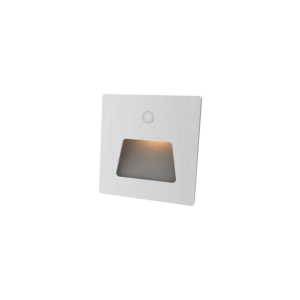
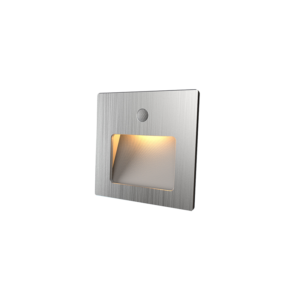
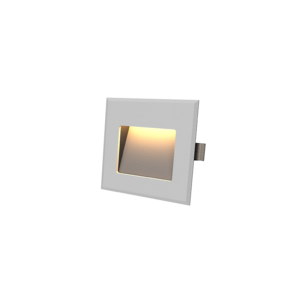
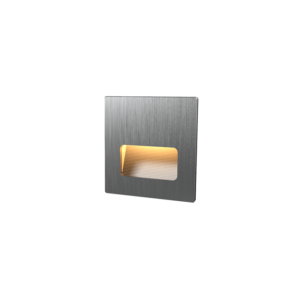
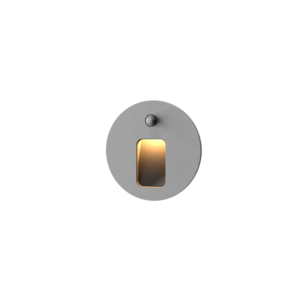
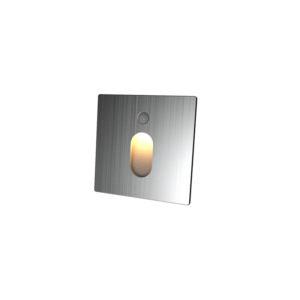
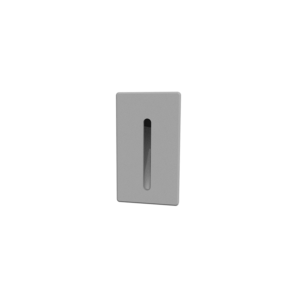
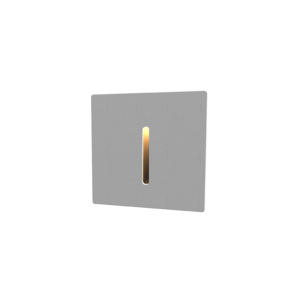
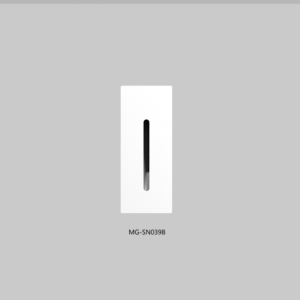
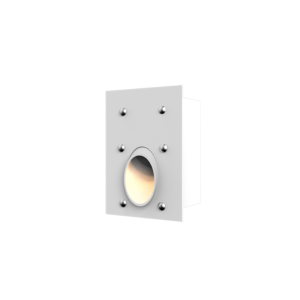
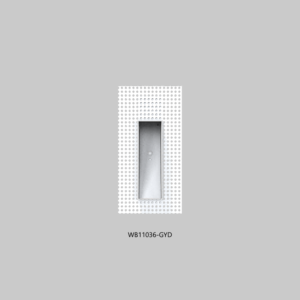
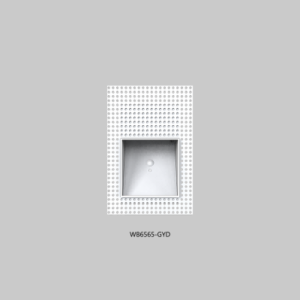
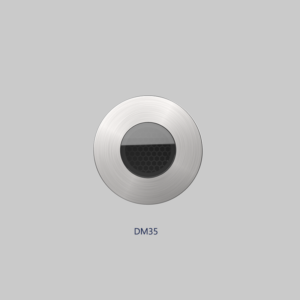
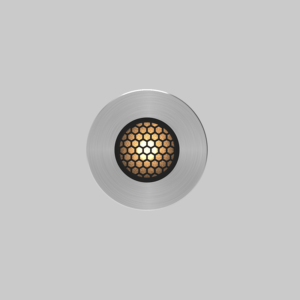
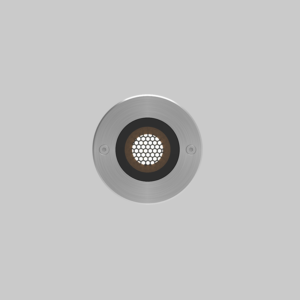
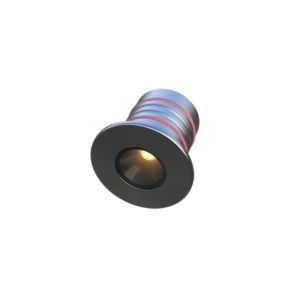
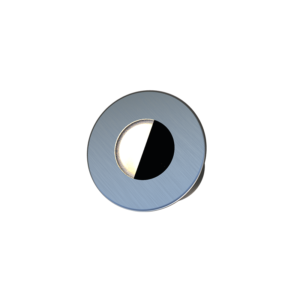
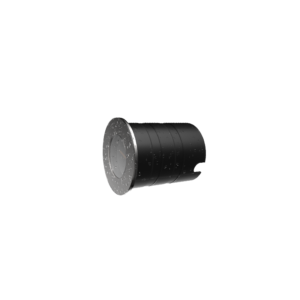
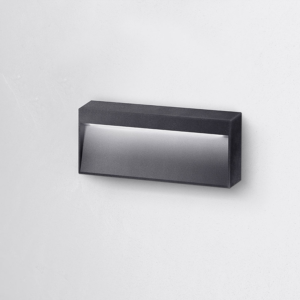
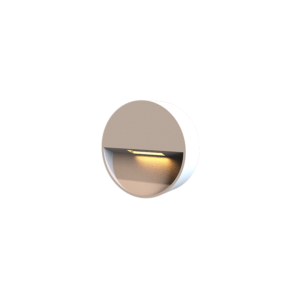
Introduction to LED Wall Mounted Step Lights
LED recessed step lights have become a popular choice for enhancing safety, aesthetics and functionality in modern home design, commercial spaces and public buildings. These fixtures are cleverly integrated into steps, hallways or outdoor pathways with recessed designs, providing soft lighting while maintaining the simplicity of the space. However, to achieve this “invisible” effect, wiring is critical – it not only affects the performance of the lamps and lanterns, but also directly related to the safety of electricity. In this article, from planning to practice, detailed explanation of LED wall mounted step light wiring skills and precautions to help installers and DIY enthusiasts to avoid hidden dangers, to create a stable and durable lighting system.

Why LED wall mounted step lights are favored?
The popularity of LED recessed step lights is due to three major advantages:
- Aesthetics: The recessed design avoids bulging out of the fixture and blends seamlessly with the building structure, making it especially suitable for minimalist or modern spaces.
- Energy saving and durability: LED light source has a long lifespan of more than 50,000 hours and consumes only 1/3 of the energy of traditional fixtures, reducing long-term maintenance costs.
- Multi-functional scenarios: from the indoor staircase of a family villa to the outdoor steps of shopping malls and parks, and even the guide lighting of museums, all of them can be flexibly adapted.

However, improper wiring may lead to flickering lights, overheating and even short-circuit risk. The following step-by-step analysis of the key points.
Basic analysis of LED wall-mounted step light: structure, principle and multi-scene application
Structure and working principle of LED wall-mounted step light
1. Anatomy of core components
Each LED wall-mounted step light is like a miniature engineering equipment, including three major functional modules:
- LED chipset: using semiconductor light-emitting technology, when the current passes through the excitation of photons, energy consumption is only 1/10 of the traditional incandescent lamps, for example, a 3W LED chip can provide the equivalent of 25W halogen lamp brightness.
- Heat Dissipation System: Built-in aluminum heat dissipation fins or thermally conductive silicone to continuously export heat (operating temperature is usually ≤ 60 ℃), to avoid light degradation – this is the key to the LED wall-mounted step light life of up to 50,000 hours.
- Driving power supply: Micro transformer converts 220V AC to 12/24V DC, built-in overload protection and voltage regulator circuit to ensure stable operation of the lamps during voltage fluctuations.

2. Scientific logic of embedded design
Different from traditional exposed lamps, LED wall mounted step light adopts “hidden form installation”:
- Structural adaptation: the depth of the lamp body is usually 2-4cm, matching the depth of the concrete groove on the side of the standard steps, fixed by expansion screws or structural adhesive.
- Optical optimization: 60°-120° adjustable beam angle design, not only to avoid direct glare, but also to evenly illuminate the whole step (illuminance ≥50 lux).
- Protection upgrade: IP65 and above waterproof grade (outdoor model can reach IP68), the combination of silicone sealing ring and tempered glass panel resists rainwater infiltration and pedal impact.
Golden application scenarios of LED wall mounted step light

1. Residential: a win-win situation for safety and aesthetics
- Duplex staircase: embedded lamps along the side of the tread at intervals of 30-40cm, automatically sensing light at night to prevent the elderly and children from stepping out of the air. Measured data show that the accident rate of family stairs decreased by 67% after installing LED wall embedded step lights.
- Courtyard landscape: Pre-embedded warm light (2700K-3000K color temperature) lamps and lanterns in the garden steps, not only outline the outline of the walkway, but also do not damage the natural atmosphere.
- Swimming pool/patio: IP68 rated LED wall mounted step light with 304 stainless steel housing is selected, which is resistant to salt spray corrosion and can still work in extreme environments from -30℃ to 60℃.
2. Commercial space: function-oriented intelligent lighting
- Hotel lobby: LED wall-mounted step lights are linked by DMX control system, presenting minimalist lines during the day and switching to dynamic welcoming light effects at night.
- Shopping mall escalator: embedded RGBW color-changing lamps in the escalator side panels, triggering color changes through foot traffic sensors to enhance the sense of technology in the space.
- Museum exhibition gallery: Low-glare characteristics protect valuable exhibits, while the 5mm ultra-thin frame realizes the immersive exhibition effect of “no light, no lamp”.
3. Public facilities: Durability and compliance are both important.
- Subway platforms: in line with EN 60598 safety standards, even if the daily average of 10,000 people step on the LED wall embedded step light can still keep more than 10 years of maintenance-free operation.
- Hospital corridors: Optional antibacterial coated lampshade inhibits bacterial growth and 3000K neutral light creates a soothing and healing environment.
Why Choose LED Wall Mounted Step Light? Four irreplaceable advantages

- Economical energy consumption A set of 10 levels of LED wall mounted step light system (total power 30W), running 8 hours a day, the annual power consumption is only 87.6 degrees, the cost of electricity is less than 50 yuan (at 0.6 yuan / degree).
- Zero space encroachment Taking Philips DN060B as an example, its installation thickness is only 2.7cm, which is perfectly embedded in standard steps, avoiding the loss of passage width caused by traditional floor lamps.
- Intelligent compatibility Support Zigbee, Bluetooth Mesh and other protocols, can be linked with smart home systems. For example, when leaving home mode is activated, the LED wall mounted step light automatically adjusts to the lowest brightness to act as a night light.
- Easy maintenance The modular design allows individual replacement of damaged units without destroying the step structure. Most brands offer quick release interfaces that allow for single-light repairs to be completed in 5 minutes.
LED wall mounted step light wiring preparation and planning
Materials and tools: accurately matching the needs of LED wall mounted step lights
1. Three gold standards for wire selection
- Low-voltage wire (essential): Most LED wall-mounted step lights use 12V/24V DC power supply, you need to choose the copper core low voltage wire (such as RVVP shielded cable) with cross-sectional area ≥ 1.5mm² to avoid voltage attenuation during long-distance power transmission. Example: If the total power is 50W (10 5W lamps), the current under 24V system is ≈ 2.08A, 1.5mm² wire diameter can carry 10A current, with sufficient redundancy.
- Temperature-resistant wire (mandatory for outdoor/high-temperature areas): High temperature environments (such as courtyard steps under direct sunlight) need to choose a silicone wire with a temperature resistance of 105℃ or higher to prevent the wire skin from aging and cracking.
- Waterproof wire (just required for wet scenes): Poolside, under the canopy and other areas, give priority to IP68 grade waterproof wire with double insulation + armored sheath, with waterproof connector (e.g. PG7 specification).

2. List of tools and logic of use
| Tools | Purpose | Description | Professional Alternatives |
|---|---|---|---|
| Laser level | Precise positioning of LED wall-mounted step light slotting position | Traditional level + marking pen | |
| Multi-purpose electric drill | Step opening (with diamond bit) and groove cutting | Angle grinder + cutting blade | |
| Crimping pliers | Making waterproof connector terminals | Stripping pliers + screw terminals | |
| Non-contact voltage check pen | Make sure the circuit is de-energized before construction (double verification) | Multimeter |
Safety Code: The Red Line for Guarding Life and Equipment
1. Mandatory operating guidelines
- Double power failure verification: After closing the main gate of the distribution box, test the circuit with a voltage detection pen to ensure that both zero and fire wires are free of current (especially in old houses where there may be misconnected circuits).
- Personal protection four-piece suit:
- Cut-resistant gloves (against concrete chips)
- Goggles (to block splashes when drilling)
- Insulated shoes (to protect against accidental leakage of electricity)
- Dust mask (to prevent inhalation of dust when trenching)
2. Regulatory Compliance Points
- Cable fill rate ≤ 40%: According to the Building Electrical Design Code, the total cross-sectional area of the penetrating wires shall not exceed 40% of the cross-sectional area of the wire pipe (e.g., Φ20mm wire pipe with a maximum of six 1.5mm² wires).
- Grounding protection: Metal shell LED wall-mounted step lights must be connected to PE grounding wire, grounding resistance ≤ 4Ω.
- Child safety distance: Step lights in public places should be installed ≥5cm from the edge of the step to prevent damage from stepping.

Wiring design
1. Five steps to draw professional wiring diagrams
- Mapping the site: use a laser rangefinder to record data such as step length, height and wall thickness.

2.Determine the grouping: every 5-8 levels of LED wall-embedded step lights are set as a group (to avoid single circuit overload), independent switch control.

3.Marking obstacles: Use a metal detector to confirm that the trenching path avoids rebar, water pipes or HVAC ducts.

4.Planning circuit: power supply → transformer → controller → lamps and lanterns, line length as far as possible ≤ 30 meters (longer need to increase the wire diameter).

5.Marking size: drawings need to specify the depth of grooving (≥ 2.5cm), the diameter of the line pipe, the location of the access port (interval of 3-5 meters).

2. Key location positioning skills
- Lamp installation point: 5-8cm from the front edge of the steps, the vertical height from the step surface 10-15cm (to prevent water soaking).
- Transformer hiding position: Priority is given to the cabinet under the stairs, ceiling access port or outdoor waterproof box, to ensure that the heat dissipation space ≥ 10cm.
- Controller siting: Intelligent control systems (such as DALI, Zigbee) need to be close to the WiFi router (signal strength ≥ -70dBm).

LED Wall Mounted Step Light Wiring Hands-on Manual
Pre-installation Measurement and Marking
1. Three-dimensional measurement method
- Step dimensions: Use a laser rangefinder to record the width (usually 80-120cm), height (15-20cm) and depth (25-35cm) of each step, and confirm that the LED wall-mounted step light is mounted ≥5cm from the edge of the step (to prevent stepping).
- Wall thickness: Use a hole detector to check the thickness of the wall/step side panel where the slot is planned to be cut to ensure that ≥3cm of space is reserved to accommodate the light fixture (depth of the light body + wire channel).

2. Marking Practical Tips
- Path planning: From the starting point of the power supply to the end of the lamps and lanterns, use colored chalk to mark the direction of the cable, following the principle of “horizontal and vertical” (see Figure 1). Example: when wiring the side of the steps, the cable channel should be parallel to the ground, the height from the ground for a uniform 15cm ± 2cm.
- Barrier avoidance strategy: When encountering rebar or water pipe, use “Z-shaped” wire marking, turning radius ≥ 6 times the diameter of the wire (such as Φ20mm wire pipe needs to leave 12cm arc).
Cable laying
1. Cable laying four iron laws
- Straightness: each meter of cable curvature ≤ 3 °, can be adjusted after temporary fixing of nylon ties.
- Anti-slip treatment: when laying on sloping steps, use anti-slip wire clips (such as P-type buckle) to fix every 30cm to avoid gravity slipping.
- Layers of isolation: strong wires (220V power) and weak wires (control signal lines) spacing ≥ 20cm, cross with metal shielding tube isolation.
- Reserve margin: leave 15-20cm length at both ends of the cable to facilitate late access to LED wall-mounted step lights and controllers.
2. Fixing tools selection guide
| Scene | Recommended Tools | Installation Points |
|---|---|---|
| Concrete wall | Expansion type wire card (Φ6mm) | Drill depth = expansion bolt length +5mm |
| Wooden steps | Self-tapping screw clamps | Pre-drilled Φ2mm guide holes to prevent cracking. |
| Outdoor wet environment | Stainless steel cable ties + PVC trunking | Waterproofing adhesive (e.g. silicone sealant) at trunking joints |
Power supply and control system access
1. Power supply configuration formula
- Voltage matching: Confirm the rated voltage of LED wall mounted step light (common 12V/24V DC), choose the corresponding transformer. Calculation example: 10 5W lamps and lanterns, total power 50W, need to choose ≥ 60W (50W × 1.2 redundant) 24V transformer.
- Wire diameter verification: Select wire according to the current (I=P/V). In the above example, I=50W/24V≈2.08A, 1.5mm² wire diameter (16A) is enough.
2. Intelligent control docking
- Wired control: DALI system needs to use twisted shielded cable (such as CAT5e), the controller and the end of the lamps and lanterns distance ≤ 300m.
- Wireless program: Zigbee/WiFi module should be installed close to the router, signal strength ≥ -70dBm (available APP test).
- Dimming compatibility: Confirm that the controller supports the dimming protocol (0-10V/PWM/DALI) of LED wall-mounted step lights.
Wiring and fixing
1. Step-by-step wiring process
- Stripping: use wire stripping pliers to remove the wire skin 6-8mm, prohibit blade cutting (easy to hurt the copper core).
- Wiring:
- Low-voltage wire: LED wall-mounted step light positive (red/brown wire) connected to the transformer “+” pole.
- Ground: yellow and green wire to the lamp metal shell grounding terminal.
- Protection:
- Sets of double-layer heat-shrinkable tube, first inner layer (insulation) and then outer layer (waterproof).
- Outdoor connector dip-coated with three-proof paint (moisture-proof/mold-proof/salt spray-proof).

2. Fault self-test list
- Lights do not light: multimeter to measure the line through, check whether the positive and negative poles are reversed.
- Uneven brightness: check whether the end voltage attenuation (allow fluctuations ± 10%).
- Signal out of control: check the shield grounding, or increase the signal amplifier.
LED wall embedded step light wiring advanced skills
Line planning: design the circuit like planning city traffic
1. Three principles of path optimization
- Avoid cross-interference: Strong power (220V power line) and weak power (control signal line) when laid in parallel, the spacing needs to be ≥ 30cm; if you have to cross, use metal shielding tube isolation, to reduce electromagnetic interference caused by LED wall mounted step light flicker problem.
- Borrowing from the building structure: Use the cast-in-place concrete layer on the side of the steps or wall hollow brick channel to hide the cables, not only to protect the line, but also to avoid additional slots to destroy the aesthetic.
- Short Distance Linear Priority: From the power supply to the first LED wall-mounted step light line length as far as possible ≤ 5 meters, the subsequent spacing between each level of lamps ≤ 3 meters, the total circuit length ≤ 30 meters (longer than the need to upgrade the wire diameter or install additional voltage regulator).
2. Anti-jamming program
- Shielded wire: DALI dimming system using twisted shielded wire (such as CAT6), shielding layer single-ended grounding.
- Magnetic ring filtering: add a magnetic ring (Ferrite Core) at the output of the transformer to suppress high-frequency noise.
- Grouped independent circuits: each 8-10 LED wall mounted step lights are set up as a group, independent switching power control, to avoid excessive cascade voltage drop.
Waterproof and dustproof: the hardcore strategy to make the line “fearless of the wind and rain”
1. Outdoor protection level configuration
- Waterproof connectors: IP68 waterproof connectors (such as Hirose, JST brand), with silicone seals and waterproof adhesive (such as 3M Scotchkote 206), to ensure that there is no water seepage in heavy rain.
- Wire armor: Outdoor wiring is threaded into flame-retardant nylon bellows (e.g. Φ20mm) and jacketed with stainless steel hose (suitable for salt spray corrosion areas).
- Drainage design: Φ2mm drainage holes are drilled at the bottom of the junction box to prevent condensation from accumulating (the holes are facing downward to avoid dust from entering).
2. Humid environment construction taboos
- Prohibit “wire running naked”: even in the junction box, all wires must be wrapped with heat-shrinkable tubes and then insulated caps.
- Refuse ordinary tape: electrical tape is easy to fall off in wet environment, need to use self-melt waterproof tape (such as Scotch 70).
- Be wary of hidden killers: Suspend wiring operations when concrete is not dry (humidity > 70%) to avoid prolonged moisture exposure of cables.

Cable protection: put “bulletproof vests” on the wires
1. Mechanical protection program
| Risk scenarios | Protection measures | Applicable tools |
|---|---|---|
| Trampling area | Pre-embedded galvanized wire channel (depth ≥3cm) | Impact drill + cutting blade |
| High-temperature environment | Set of high-temperature-resistant silicone tubing (200℃) | Shrinking and shaping with hot air gun |
| Rodent-prone area | Armored metal hose + rodent repellent coating | Stainless steel tie fixing |
2. Inspection and maintenance rhythm
- Daily inspection: Monthly inspection of line nodes with infrared thermal imaging camera, temperature abnormality (> 60 ℃) immediately troubleshooting.
- Annual inspection: Dismantle the junction box of randomly sampled LED wall-embedded step lights and check whether the insulation layer is brittle and the copper core is oxidized.
- After extreme weather: test the grounding resistance (should be ≤ 4Ω) after heavy rain and earthquake to ensure safety.
Power matching: don’t let the line “small horse-drawn cart”
1. Load calculation of the golden formula
- Total power ≤ power capacity × 80%: For example, 10 6W LED wall-mounted step lights with a total power consumption of 60W, need to match ≥ 75W transformer (60/0.8 = 75).
- Wire diameter safety threshold: Current (A) = Total power (W) / Voltage (V). If the total current is 10A under 24V system, you need to choose 2.5mm² wire diameter (load capacity 25A).
2. Load Equalization Tips
- Star wiring method: Split multiple independent lines from the transformer, connecting 4-6 lamps per line to avoid voltage drop at the end (see Figure 2).
- Intelligent current equalization module: add DC-DC regulator in the long distance circuit to ensure that the voltage fluctuation of the LED wall-mounted step light at the end is ≤5%.
- Time-sharing control: turn on the high-density lamps and lanterns in groups in turn by timer to reduce the peak load (suitable for holiday lighting scenarios).
Frequently Asked Questions and Solutions: LED Wall Mounted Step Light Wiring
When installing LED wall mounted step lights, wiring issues often affect the overall performance of the system and user experience. Below we will analyze several common problems in detail, and provide practical solutions to help you ensure that the LED wall mounted step light installation is stable, safe and efficient operation.
1. Unstable wiring, poor contact
Problem description
In the process of installing LED wall-mounted step lights, often encountered wiring instability or poor contact problems, which may not only lead to improper operation of the LED lights, but also shorten the service life of the lamps and lanterns.
Analyze the cause
- Loose connection terminals: When the installation process of the connection terminals are not firmly fixed, or the quality of the connector used is not satisfactory, it is easy to lead to poor contact.
- Poor insulation: Improper insulation treatment of wires or junction boxes can also affect stability and safety.
Solution
- Re-fix the connectors: When installing LED wall mounted step lights, please make sure to check each connector to ensure that all wire terminals are firmly fixed to avoid poor contact caused by looseness.
- Use high-quality junction box: Select the standard junction box and connectors, which not only can improve the stability of the wiring, but also provide better protection for the LED wall mounted step light, to prevent failure caused by external interference.
2. LED light flickering problem
Problem Description
LED light flicker is another common problem, especially soon after the installation of LED wall mounted step lights, users may find that the lamps and lanterns occasionally flicker, which may affect the overall lighting effect and aesthetics.
Analyze the cause
- Unstable power supply: LED lights flicker is often caused by unstable power supply system, power supply output fluctuations will directly affect the normal operation of LED lights.
- Insufficient voltage or interference problems: If the LED wall-mounted step lights have insufficient voltage in the wiring design, or the line is subject to electromagnetic interference, it will also lead to flickering lamps.
Solution
- Check the power output: First make sure the power supply provides stable and sufficient voltage. When installing LED wall mounted step lights, it is recommended to use professional power supply equipment to regularly check whether the power output is stable.
- Increase filtering measures: For possible electromagnetic interference, you can increase the filtering device in the power line to further ensure the stable operation of LED lights, to avoid flicker caused by interference.
3. Overheating and power supply matching problems
Problem description
When overheating occurs in LED wall-mounted step lights, it not only affects the lighting effect, but also may cause safety hazards. This is usually associated with improper wiring design and power supply matching.
Analyze the cause
- Poor wiring: If the wiring of LED wall-mounted step lights is too chaotic or the line is not properly selected, it will lead to poor current transmission and generate additional heat.
- Power Calculation Error: When designing the wiring, if the total power of the fixture is not calculated correctly, it may lead to overloading of the power supply, thus causing overheating problems.
Solution
- Re-evaluate the load: When installing LED wall mounted step lights, make sure to accurately calculate the power of each fixture to ensure that the selected power supply can meet the overall load requirements.
- Choose the right driver: According to the power requirements of the LED wall-mounted step lights, choose the matching driver, which not only improves energy efficiency, but also prevents overheating problems caused by high driver loads.
- Optimize wiring design: Ensure that the wiring path is neat, the wire meets the standard, and if necessary, use heat dissipation materials or design additional heat dissipation measures to reduce the risk of overheating.

