stall the step light on top of it, which can reduce the step light installed directly on the surface of the concStair Tread Light Installation Process
Installation Steps
1. Site Measurement

Send someone to the site to measure the dimensions, including:
- Length of the steps
- Width of the steps
- Height of the steps
- Number of steps
- Length of the channel light
2. Electrical Wiring
- From the corner of the wall, pull the power cord (referred to as the main line, typically installed by the decoration unit) along the steps to the bottom of the tread.
- Use RVB2*0.75 or 2*0.5 power cords.

3. Cutting and Preparing the Step Strip
- Cut the step strip to the required length.
- Drill screw holes in the step strip based on the step length (no strict requirement for the number of holes; more holes provide better stability):
- 1M steps: Install 3 screws
- Steps longer than 1.2M: Install 4 screws

4. Installing the Step Strip
- Insert expansion bolts into the screw holes.
- Secure the step strip firmly using self-tapping screws.

5. Connecting the Power Line
- Connect the power line to the main line, which has been extended along the bottom of the step.

6. Installing the Light Strip

- Cut the light strip to the required length.
- Insert the light strip into the groove of the step strip.
- Connect the light strip wire to the main line.
- Note: Ensure the light strip wire is routed along the blocking head of the groove and not pressed under other parts to avoid damaging the wire.
7. Installing the LED Light Plate

- Place the LED light plate inside the resistor head.
- Connect the LED light plate power cord to the main line.
- If LED light plates are installed on both sides of the steps:
- Use the main line on both left and right sides, or weld the power line on both sides of the light strip.
- Connect the LED light plates on one side to the main line on the opposite side via the light strip.
8. Securing the Resistor Heads

- Place the resistor heads (with connected wires) on both sides of the tread strip.
- Ensure the main wires are aligned and pressed into the groove of the resistor head.
- Use expansion bolts and self-tapping screws to secure the resistor heads firmly.
9. Reinstalling High and Low Voltage Strips

- Reinstall the high and low voltage strips on the left and right sides (horizontal and vertical directions).
- Conceal the main wires in the middle of the high and low voltage strips.
- Ensure gaps between high and low voltage strips and tread strips are minimized.
10. Installing the Header Cover Plate

- After all steps are installed with headers and step strips, install the header cover plate (with or without a number plate).
Installation Steps for Channel Lighting Strip
1. Installing the Channel Strip Base
- Secure the base of the channel strip to the ground.
2. Connecting and Installing the Light Strip
- Connect the light strip wires and fix them to the ground.
- Place the light strip into the channel strip groove.
- Cover the channel strip with the channel strip cover.
Notes
Board Installation: Install a 10cm-wide board on the front and vertical surfaces of each step before leveling. Reserve space for the board area on the front of the step. After installing the board, ensure its surface is flush with the concrete surface to prevent long-term shedding caused by direct installation on concrete.rete floor for a long time after the shedding caused by the light.
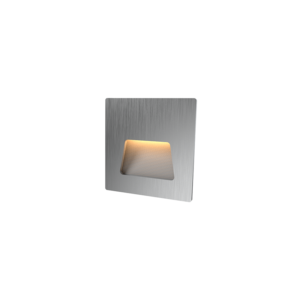
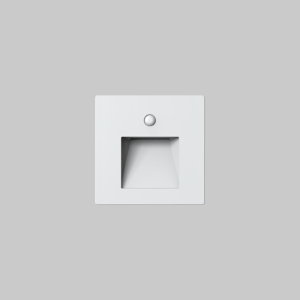
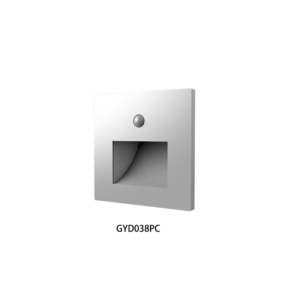
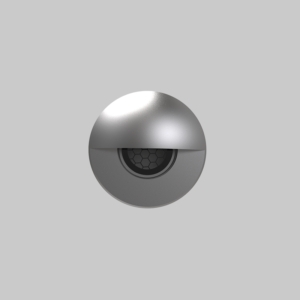
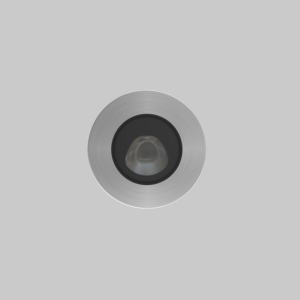
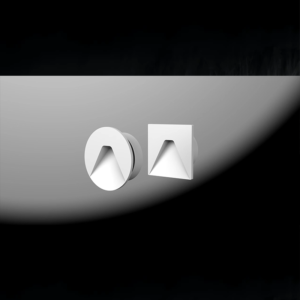
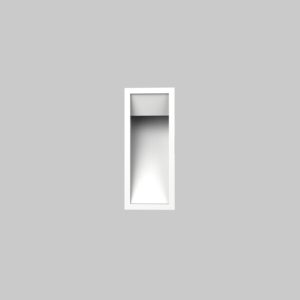
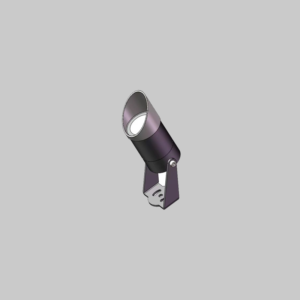
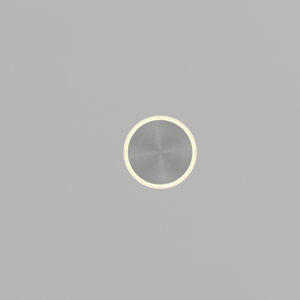
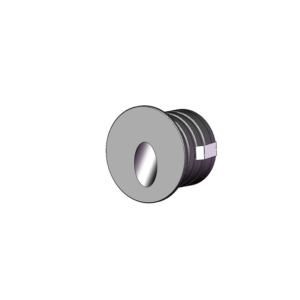
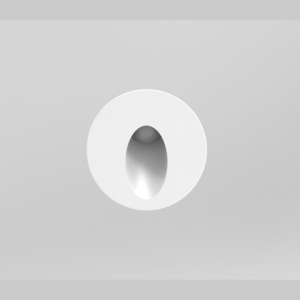
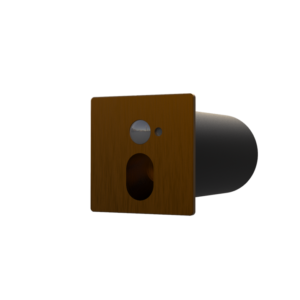
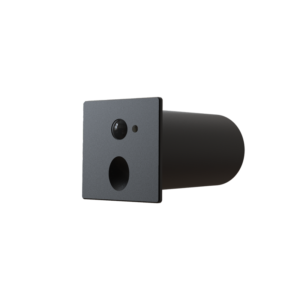
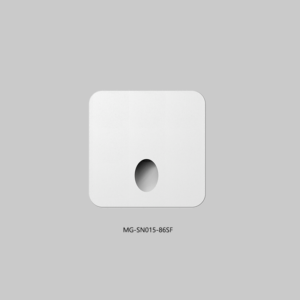
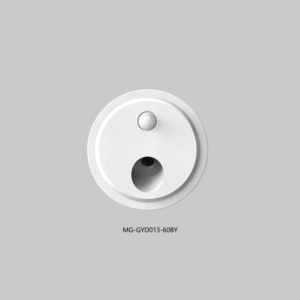
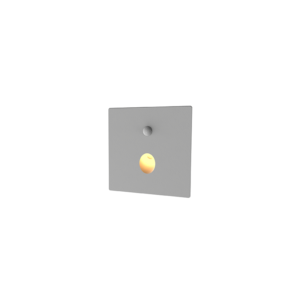
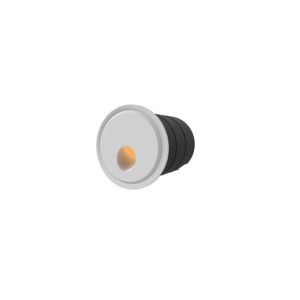
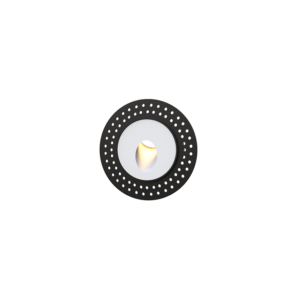
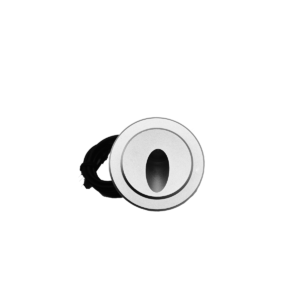
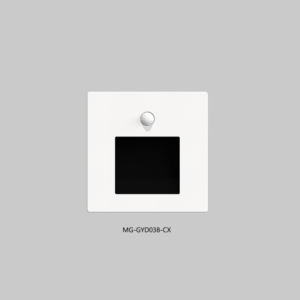
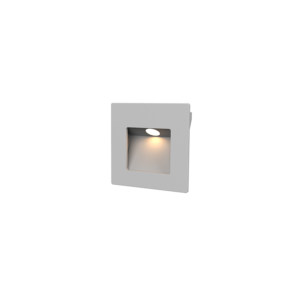
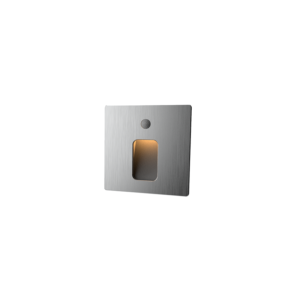
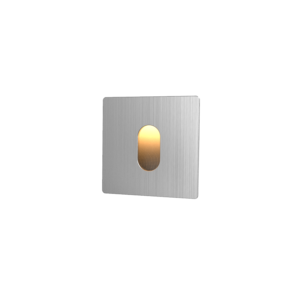
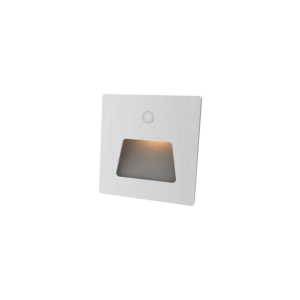
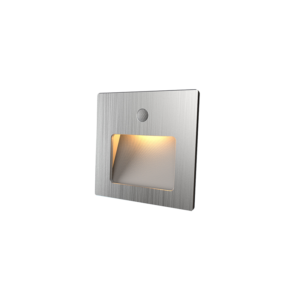
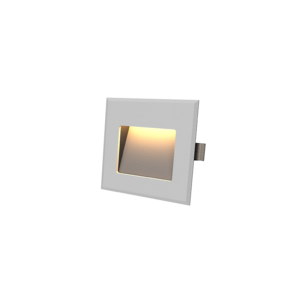
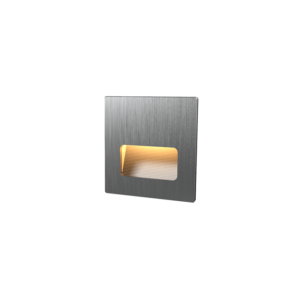
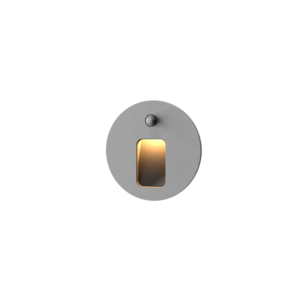
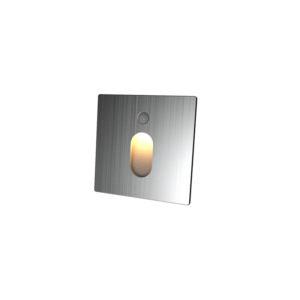
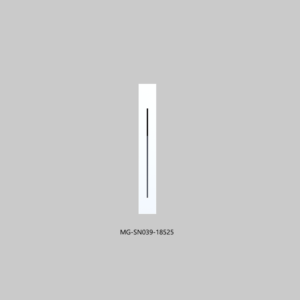
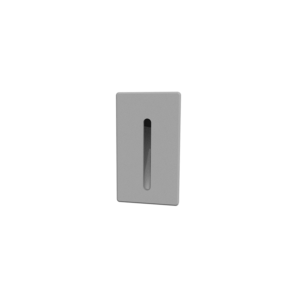
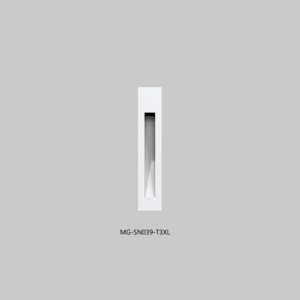
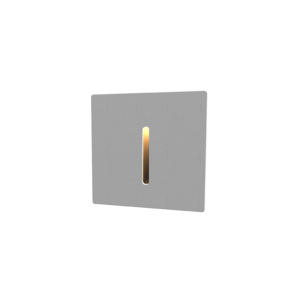
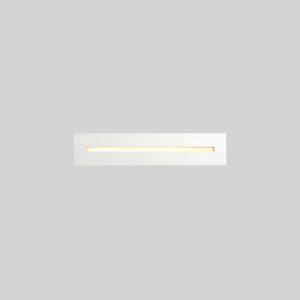
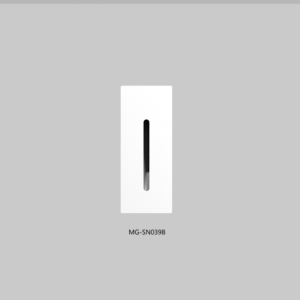
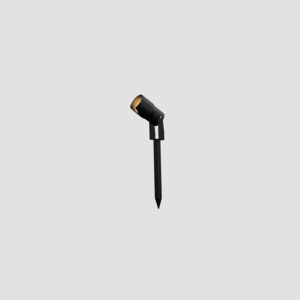
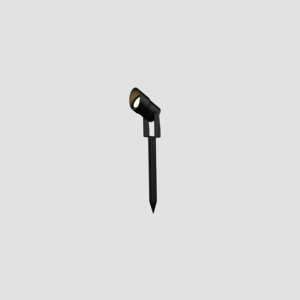
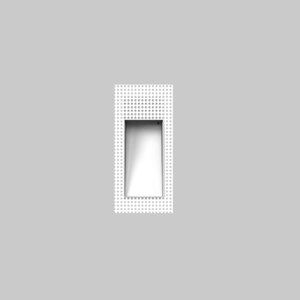
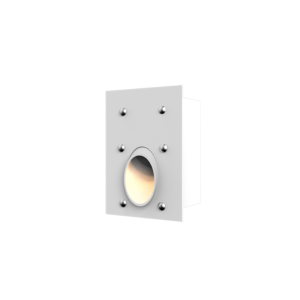
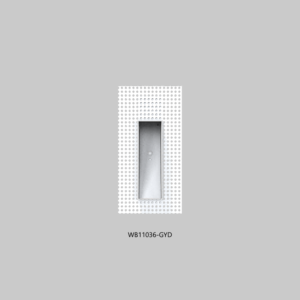
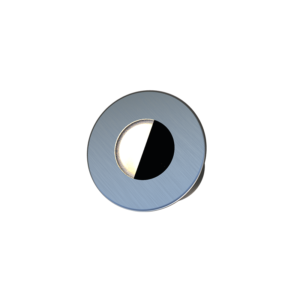
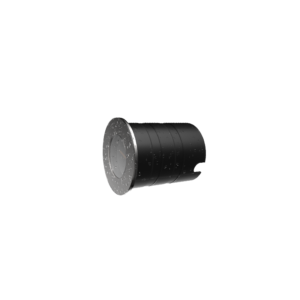
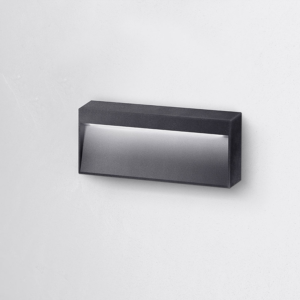
Step Lights: These are finished products and should match the provided images. Designer drawings are schematic and for reference only; the actual finished step lights take precedence.